Troubleshooting Issues with Nektar Controllers
Many of the most common issues which users encounter can be resolved by restoring the default settings for your controller.
Factory restore procedure for Impact LX+, GX, GXP, SE, GX Mini & LX Mini controllers
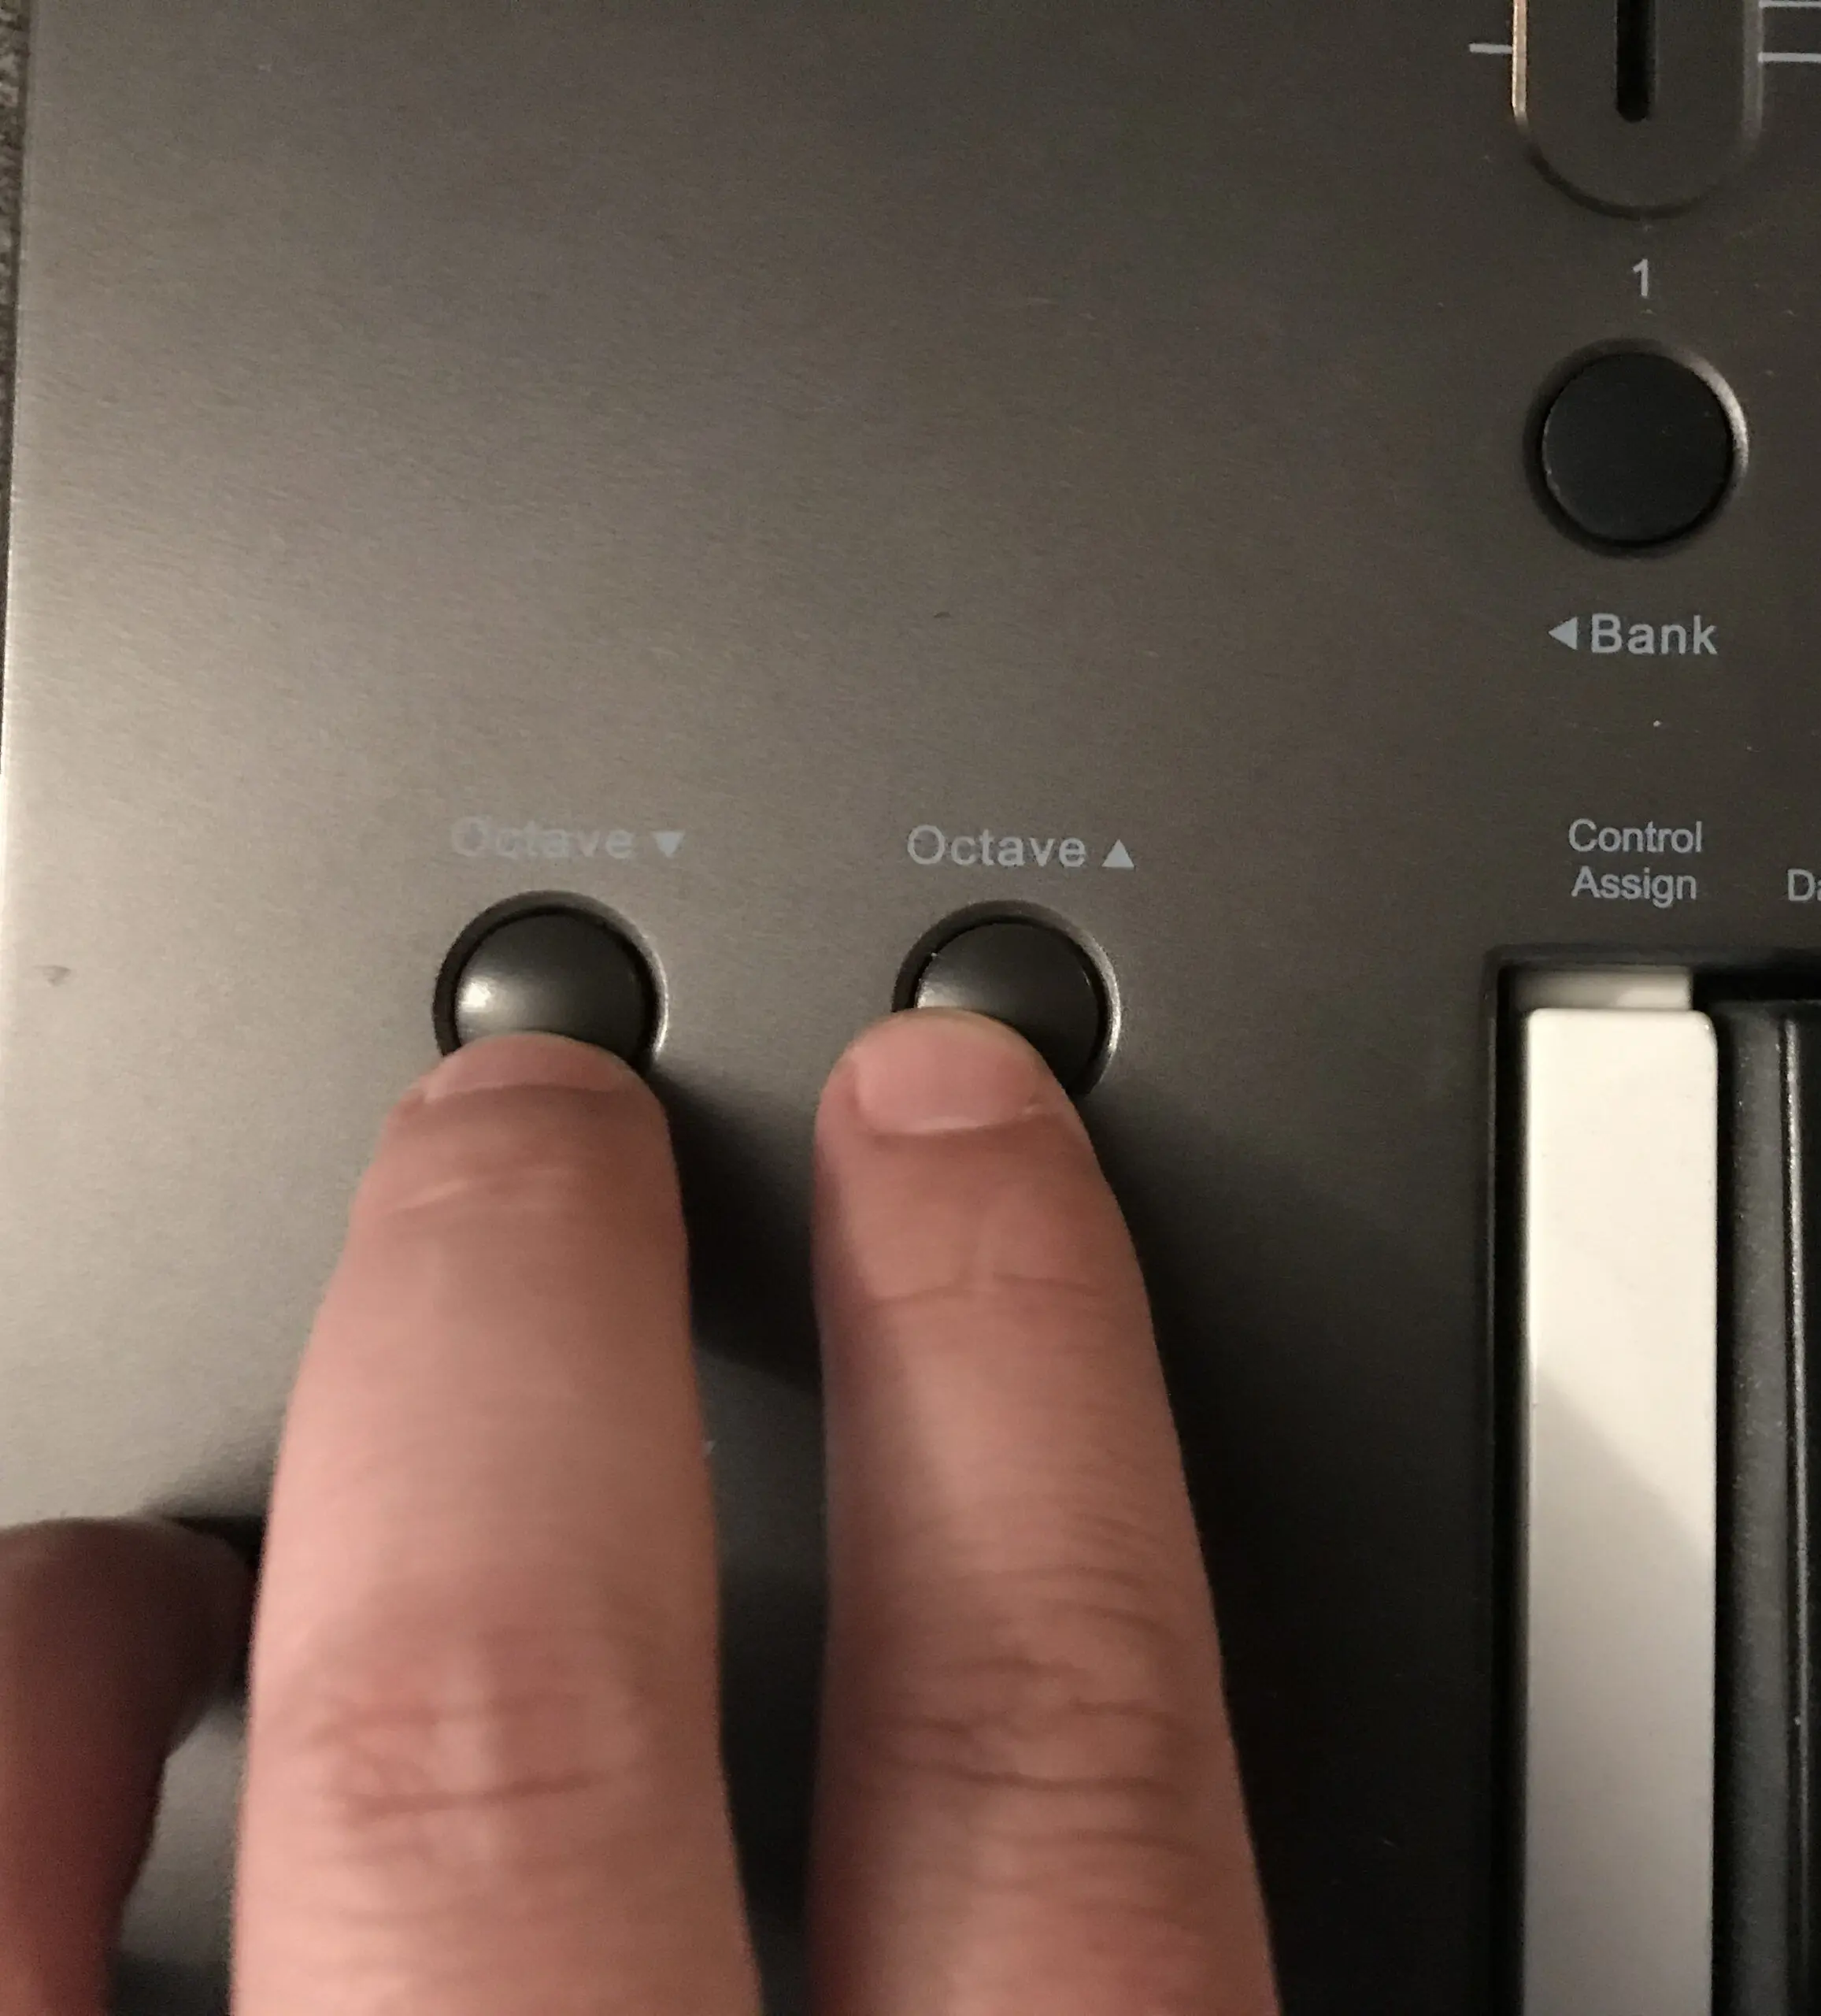
For the LX25+, LX49+ and LX61+:
- Turn the Impact off.
- Hold both Octave buttons while turning the Impact back on.
- The display will show the firmware version number, followed by 8.8.8. and then it will return to normal operation.
- Release the Octave buttons.
Impact
Impact
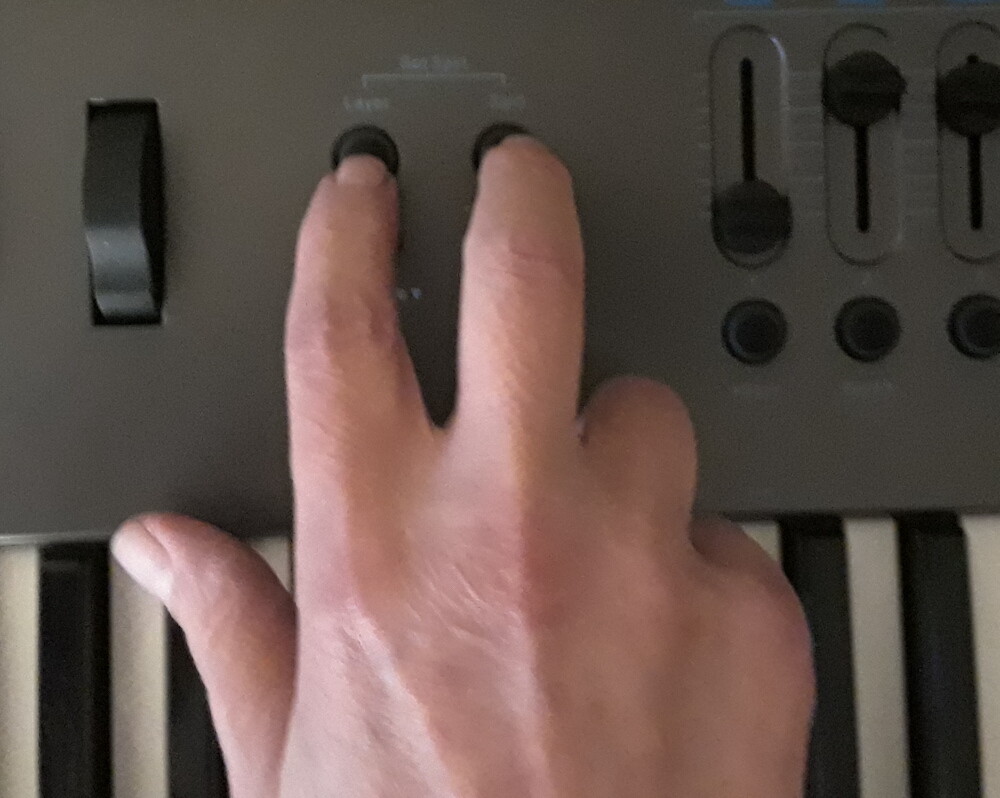
For the LX88+:
- Turn the Impact off.
- Hold the ‘Split’ and ‘Layer’ buttons while turning the Impact back on.
- The display will show the firmware version number, followed by 8.8.8. and then it will return to normal operation.
- Release the ‘Split’ and ‘Layer’ buttons.
LX-88
LX-88
For GX series, GXP series, SE Series, GX Mini and LX Mini:
- Turn the Impact off.
- Hold both Octave buttons while turning the Impact back on.
- The LEDs will flash.
- Release the Octave buttons.

GX and GXP
GX and GXP
Factory restore procedure for Panorama series controllers
For the P1:
- With the P1 connected via USB, press and hold the [Loop/F6] and [Record/F11] buttons at the same time, until a countdown appears. Then release the [Loop/F6] and [Record/F11] buttons.
- During the countdown, press and hold the [Patch+] and [Patch-] buttons.
- Continue to hold these buttons until you see a message that says “Unit is restoring factory content to all presets…”
- Release the [Patch+] and [Patch-] buttons.

Panorama P1 countdown
Panorama P1 countdown
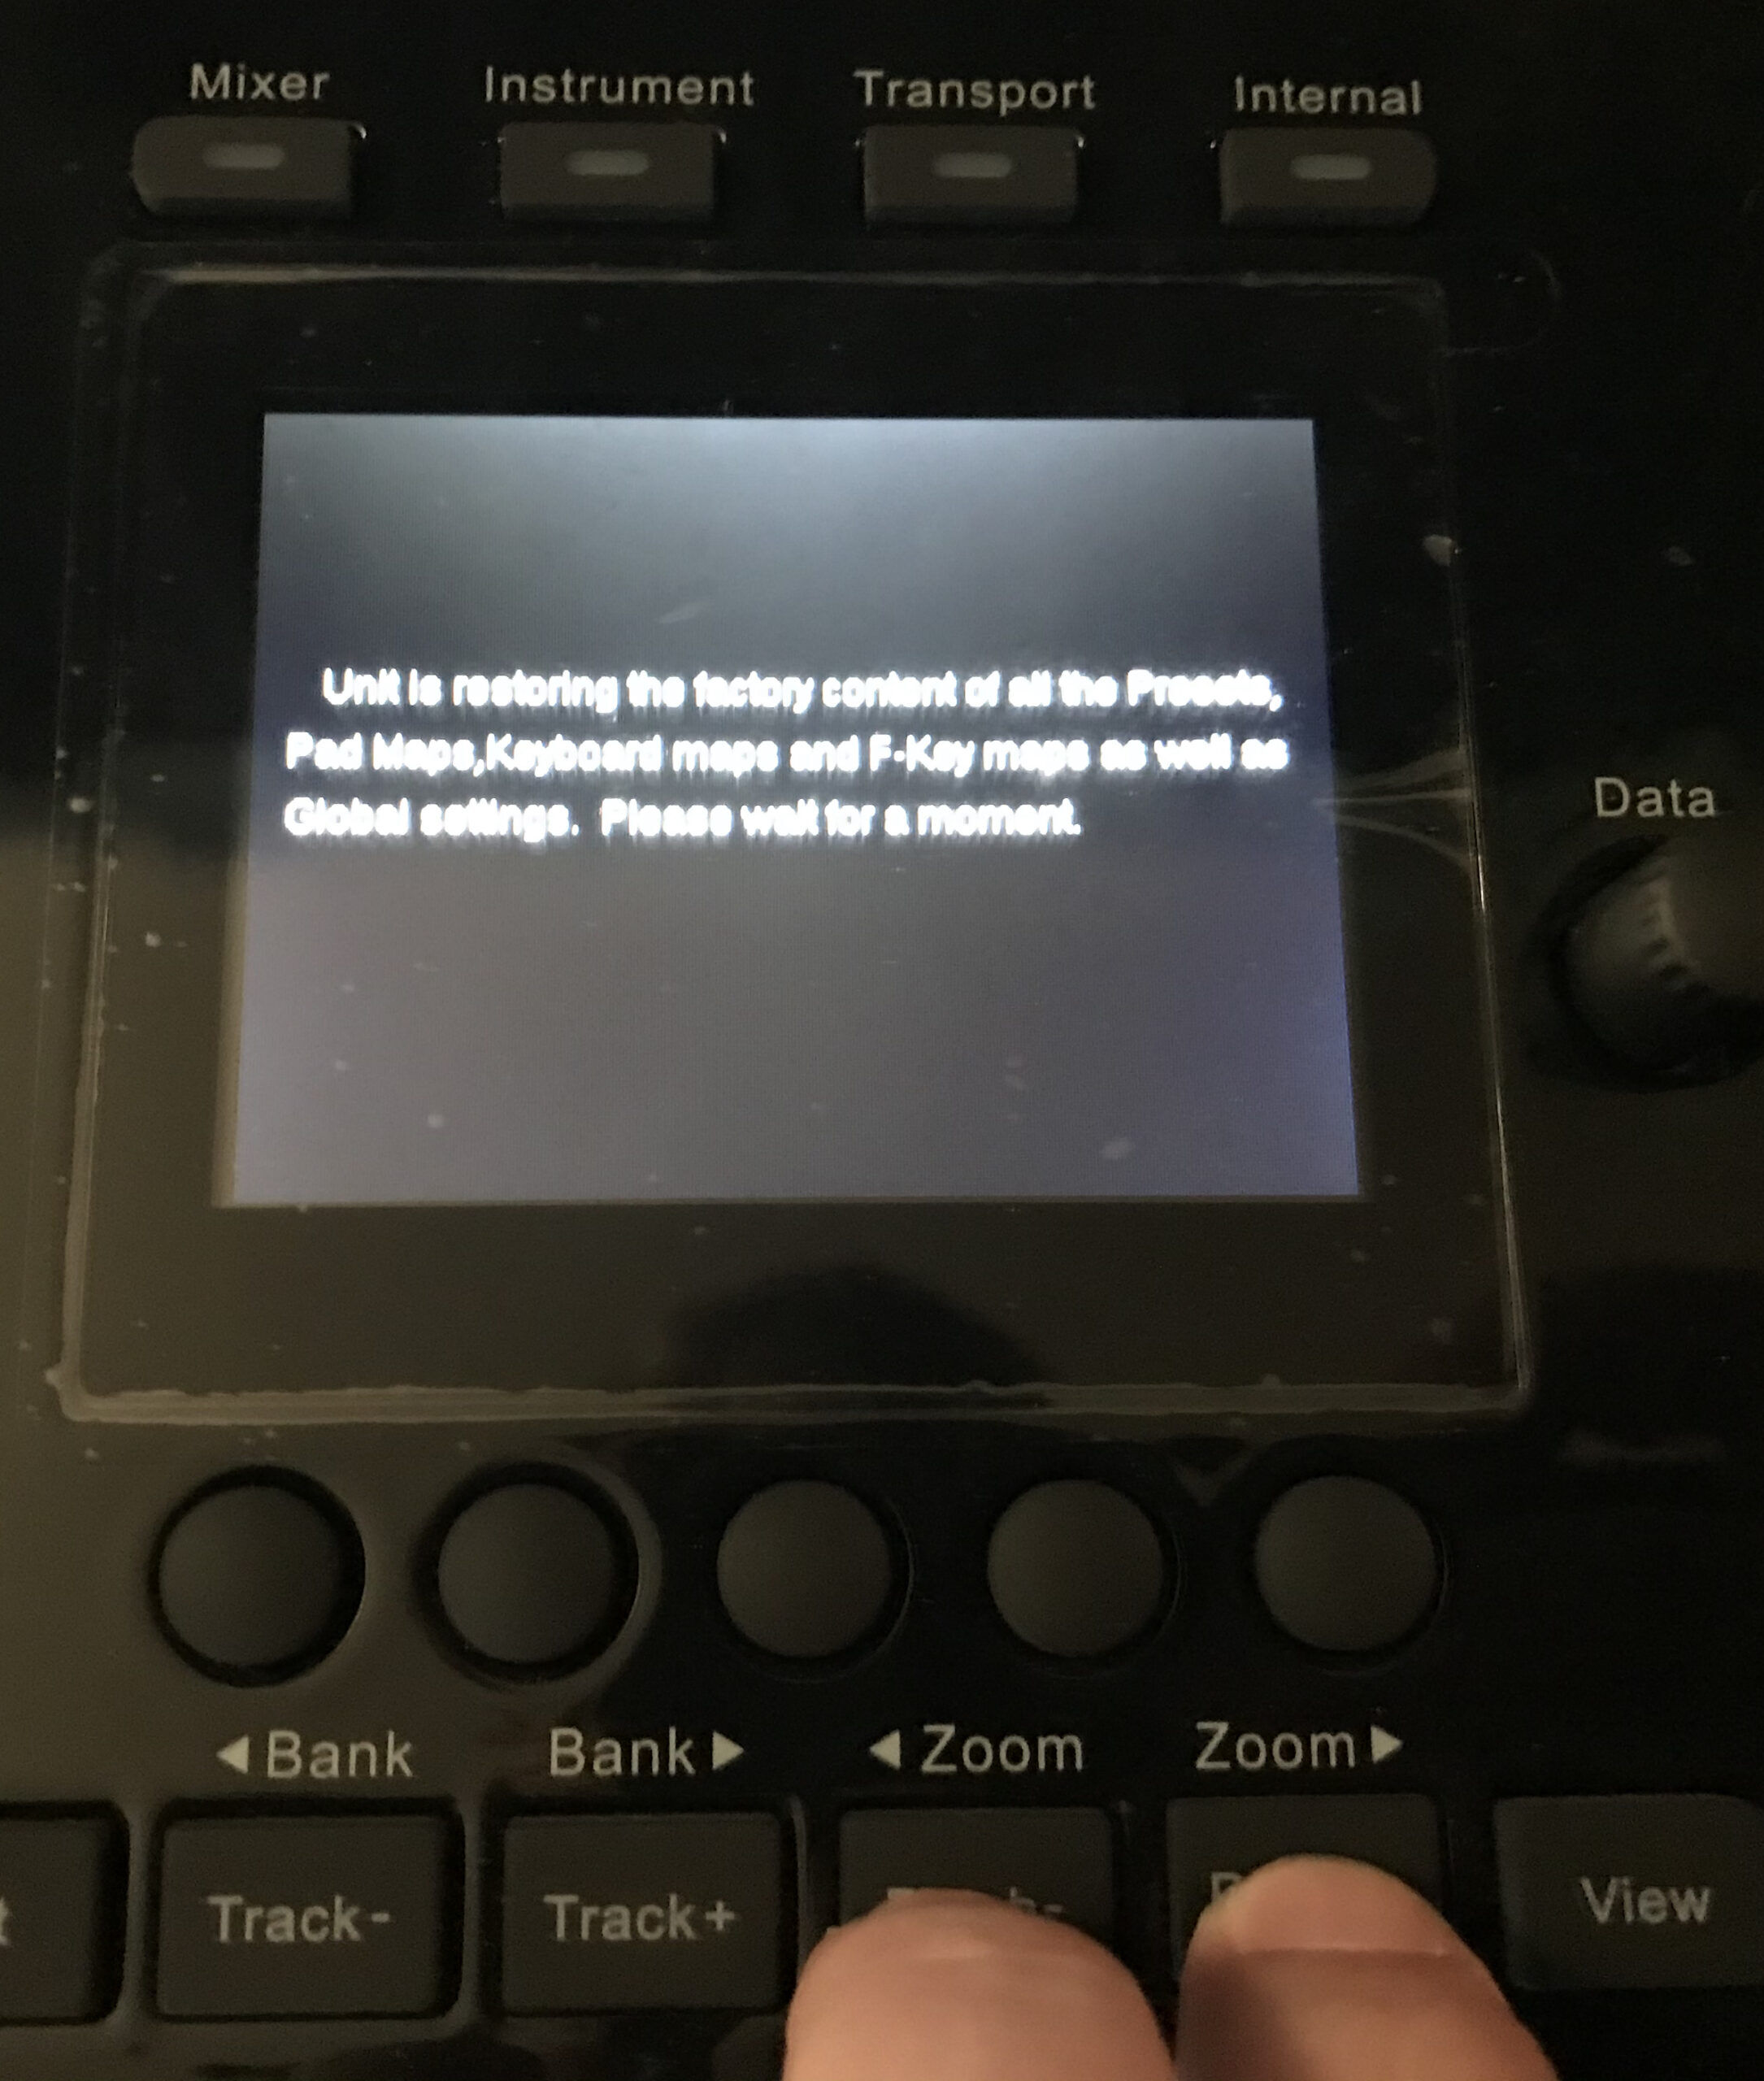
For the P4 and P6:
- Turn Panorama off
- Turn Panorama on while holding down the [Patch+] and [Patch-] buttons.
- Continue to hold these buttons until you see a message that says “Unit is restoring factory content to all presets…”
- Release the [Patch+] and [Patch-] buttons.
Panorama P Series
Panorama P Series
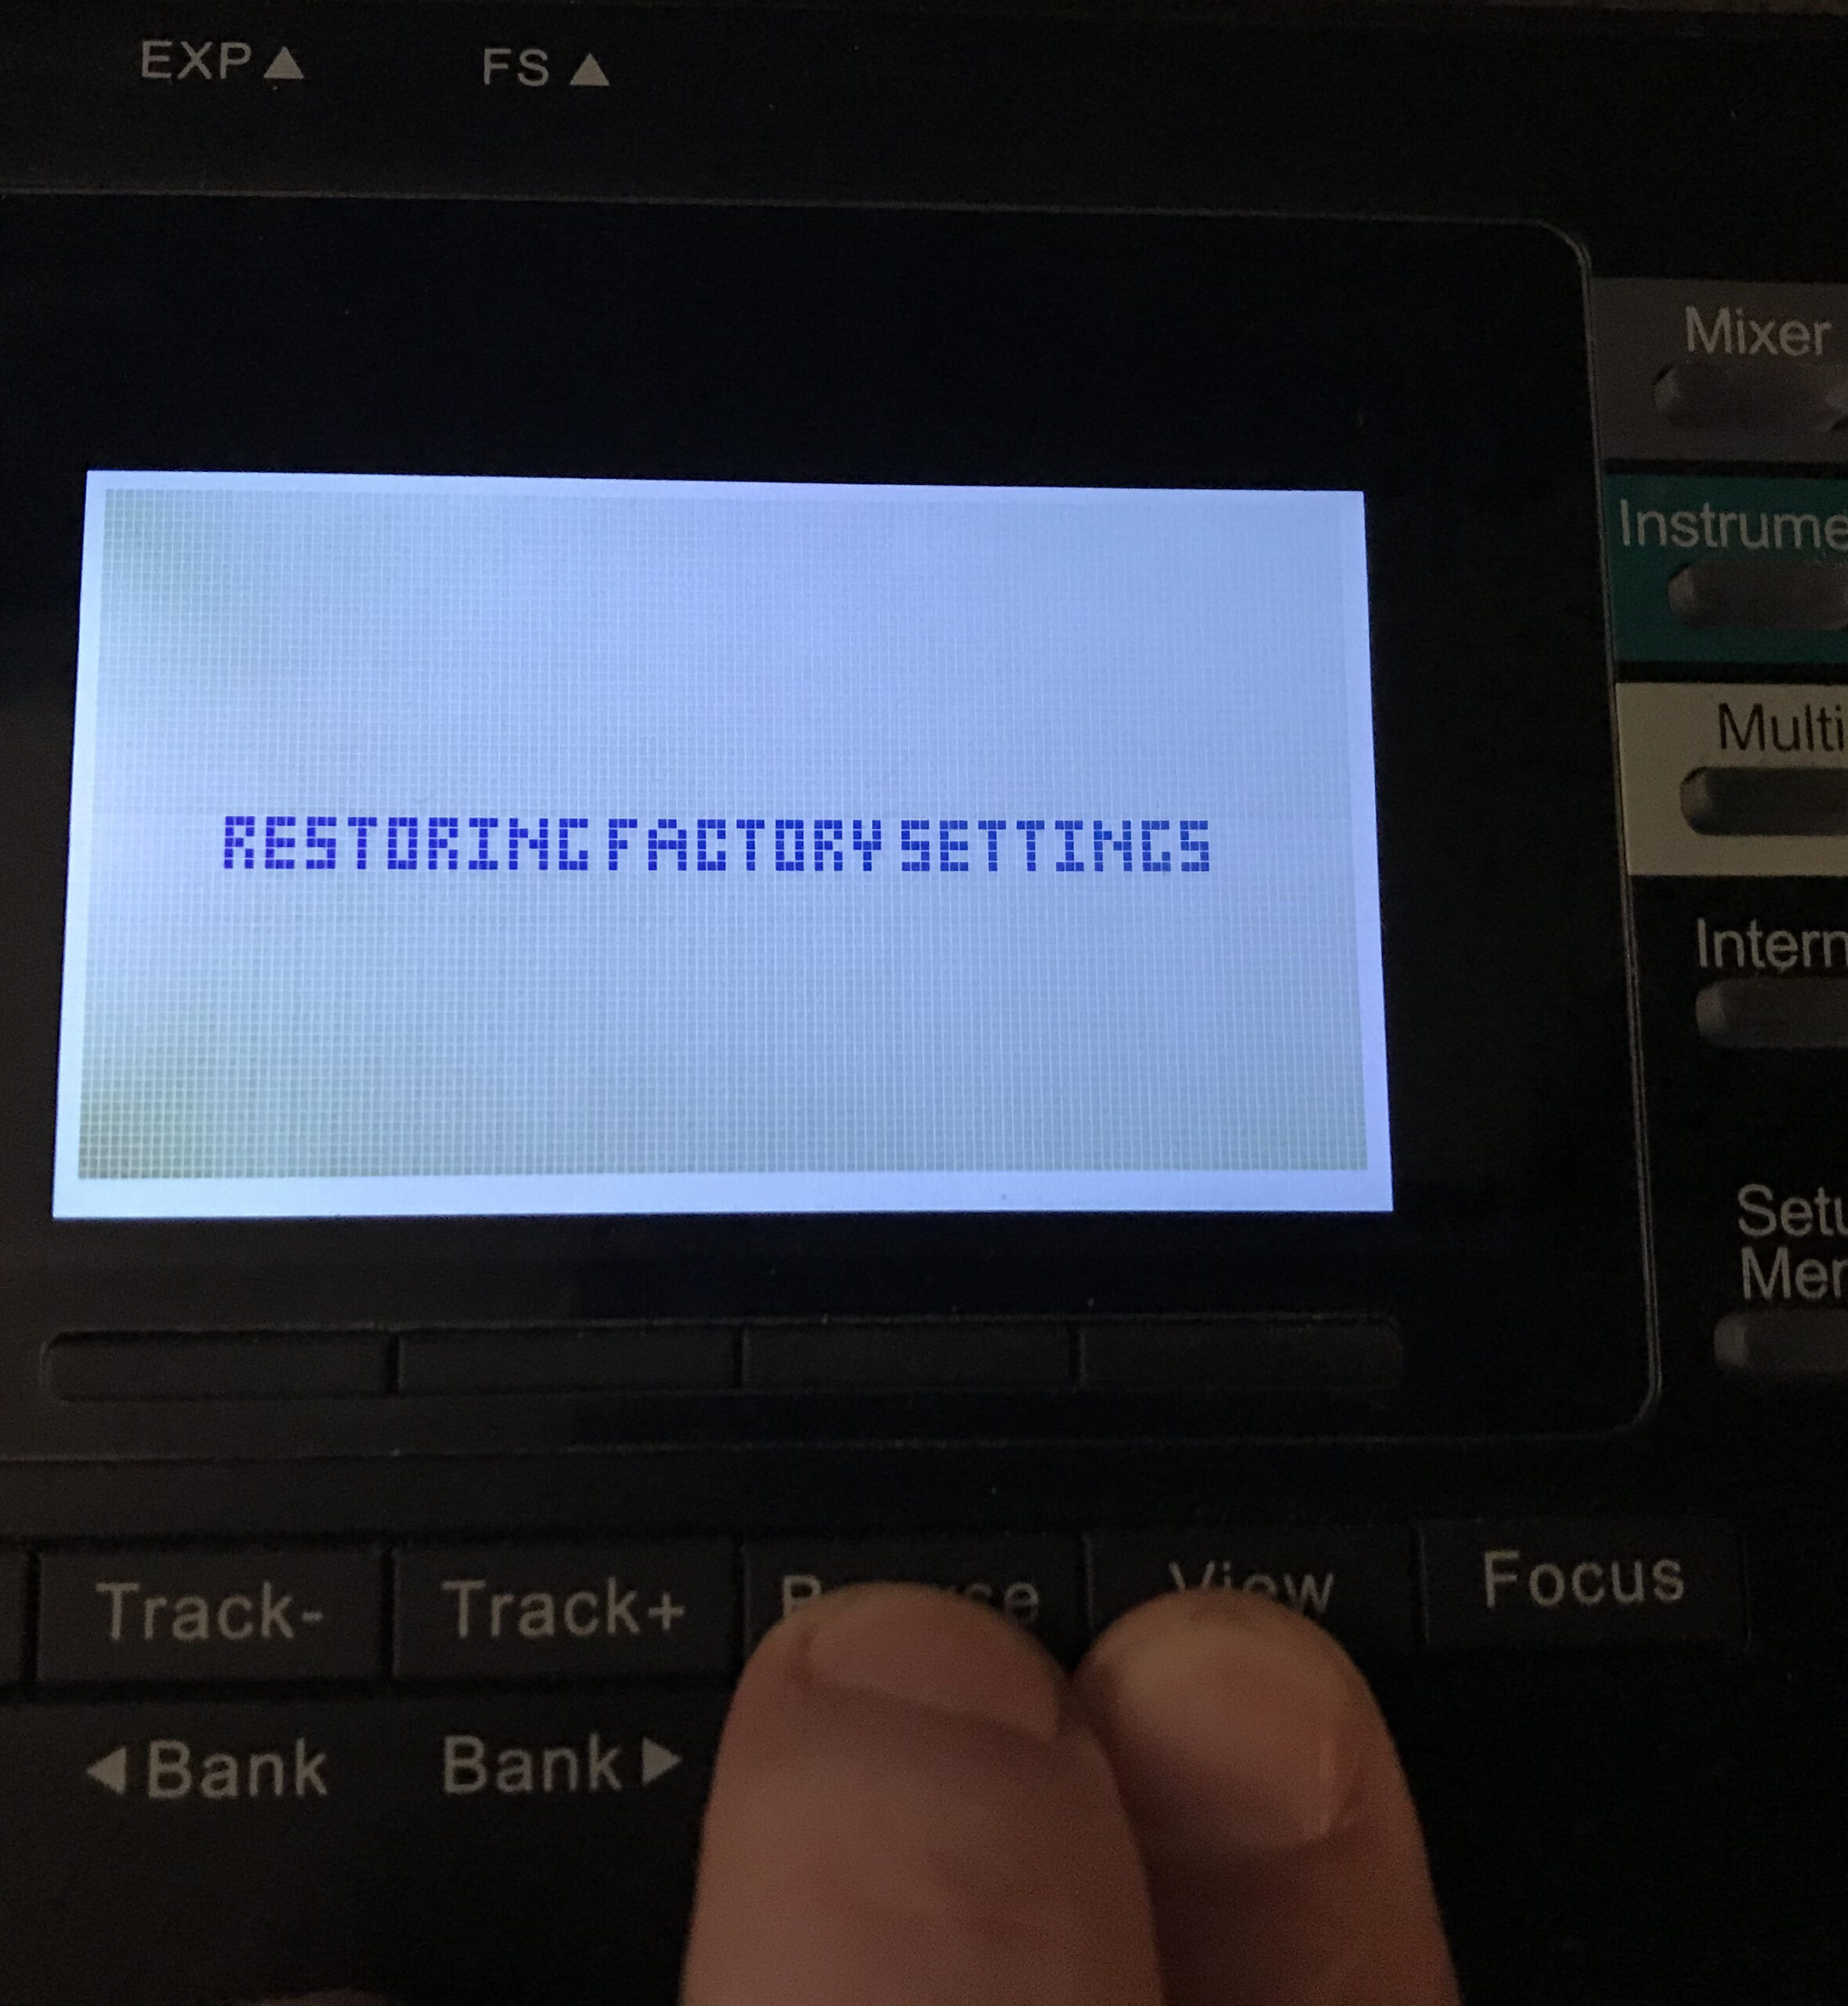
For the T4 and T6:
- Turn Panorama off
- Turn Panorama on while holding down the [Browse] and [View] buttons.
- Continue to hold these buttons until you see a message that says “Restoring Factory Settings”
- Release the [Browse] and [View] buttons.
Panorama T4 and T6
Panorama T4 and T6
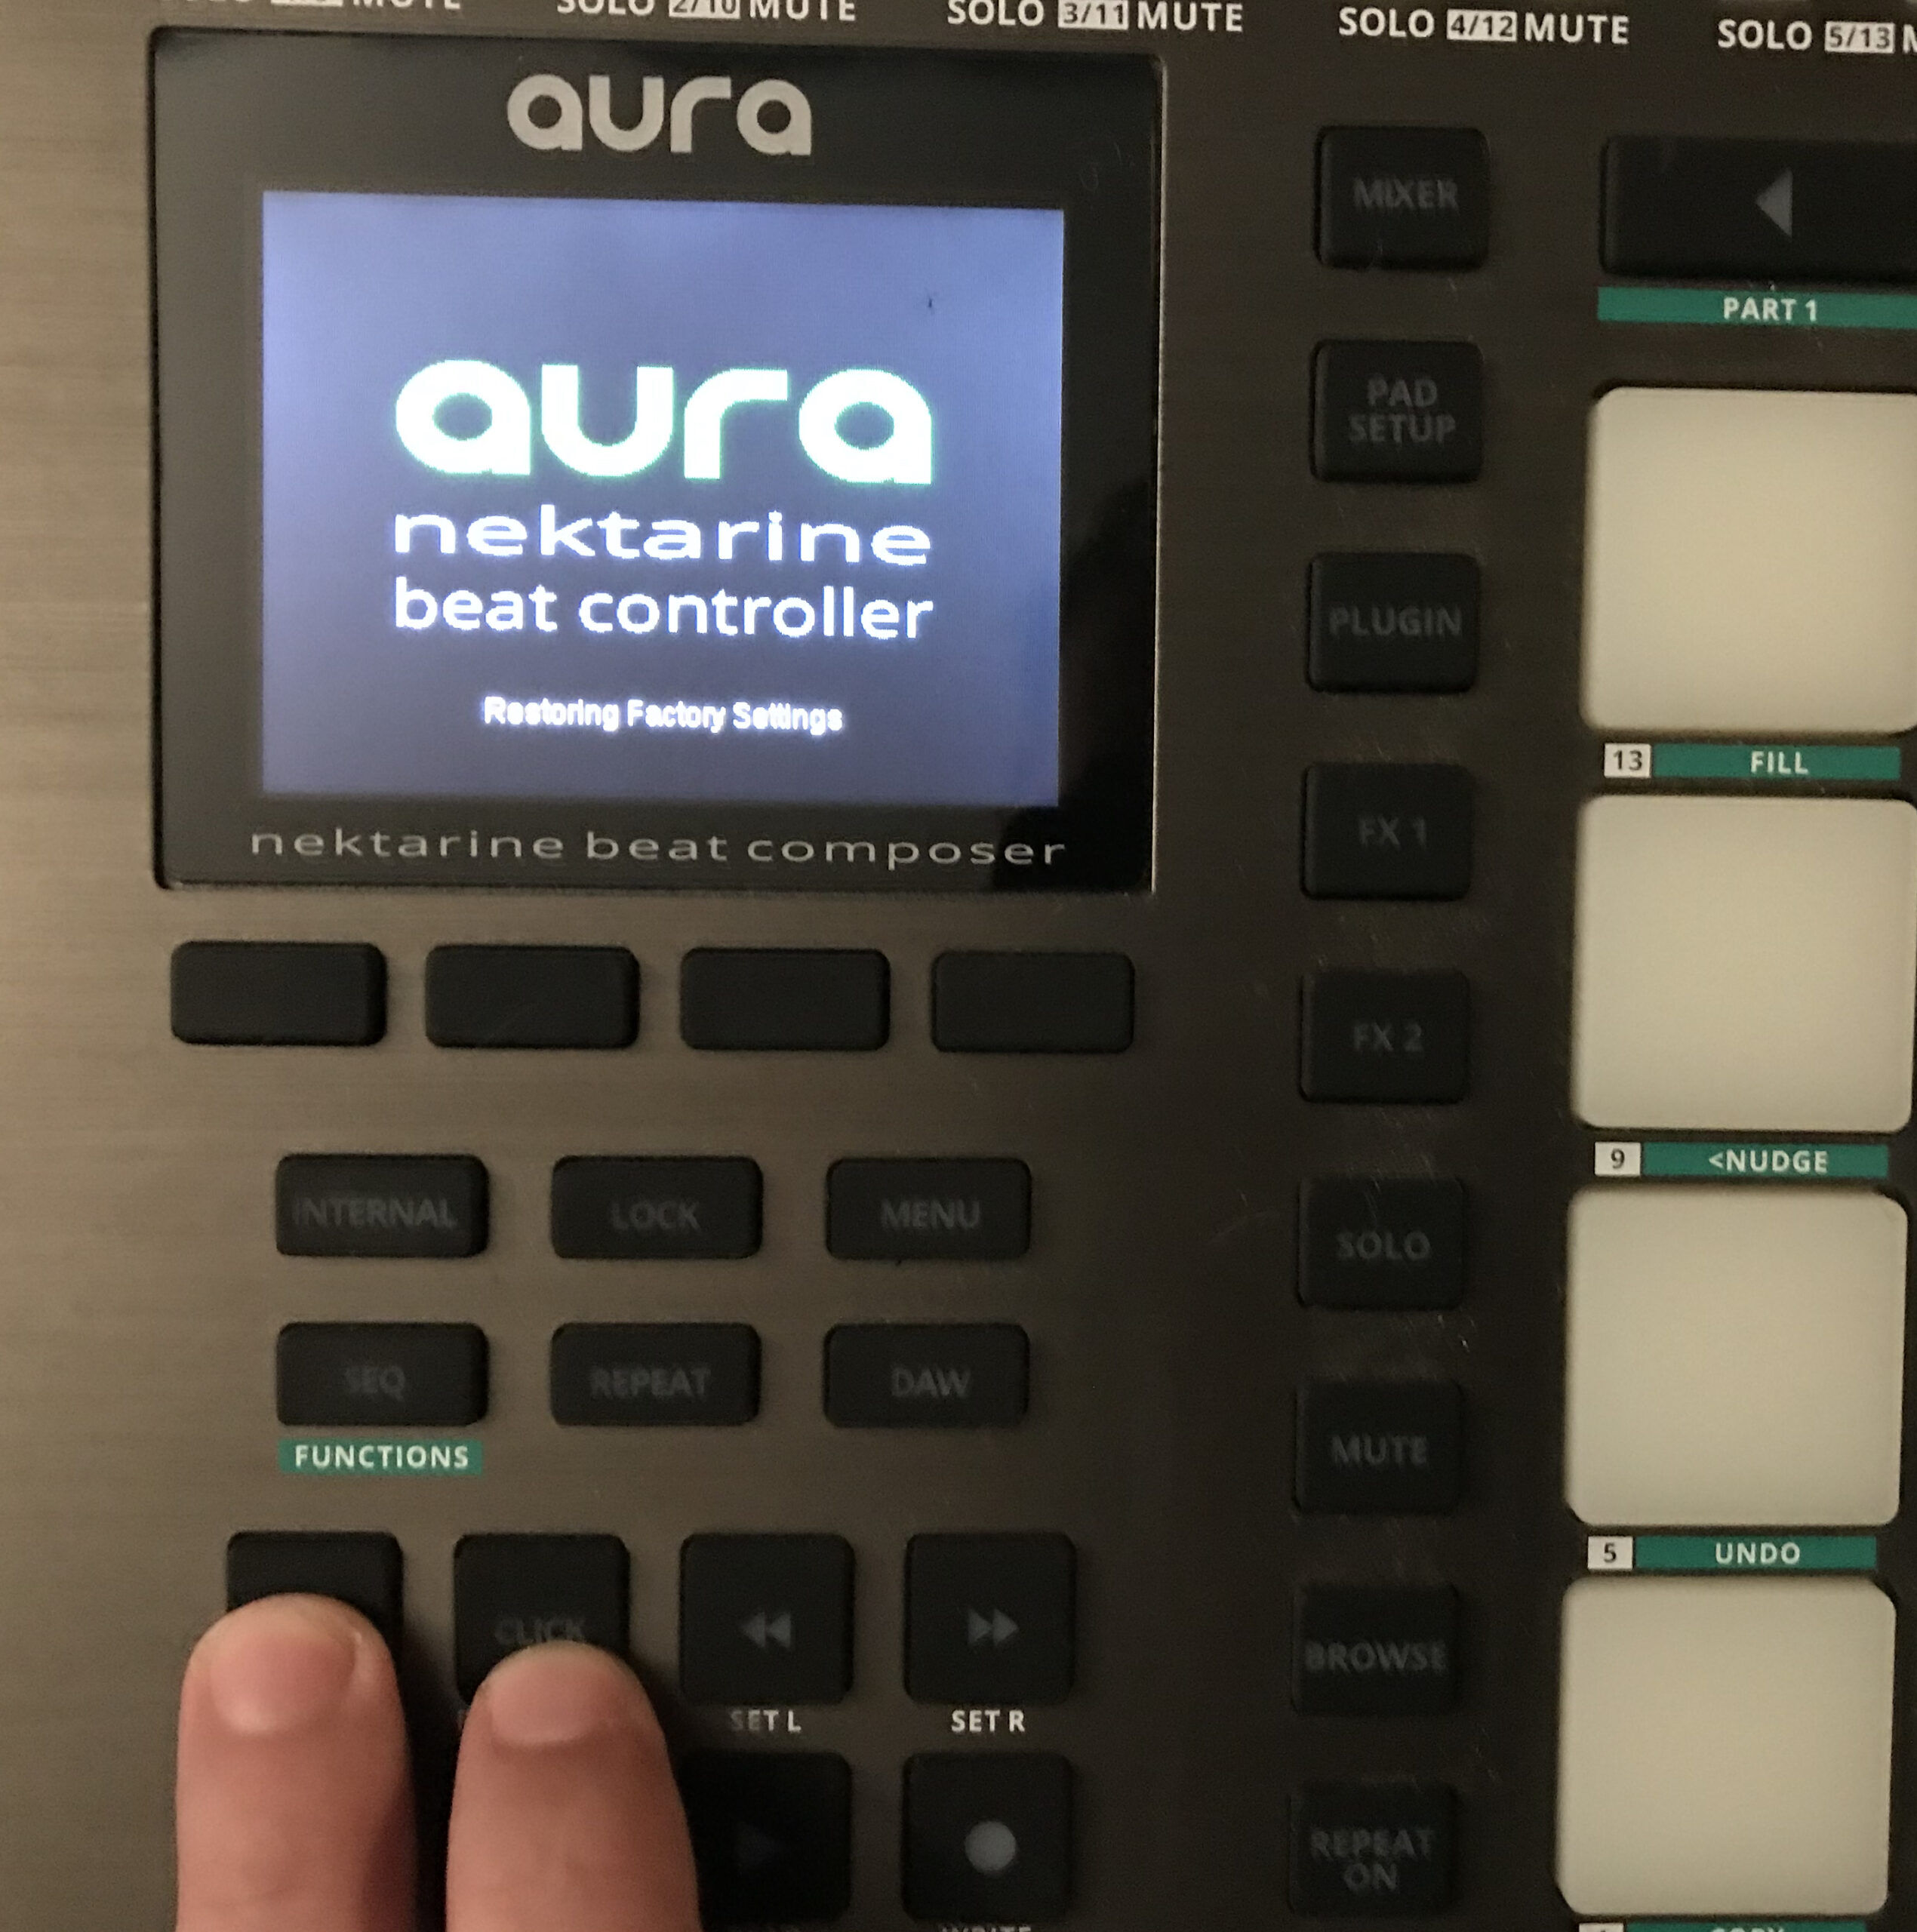
Factory restore procedure for Aura
- Turn Aura off.
- Hold the [Shift] and [Click] buttons while turning Aura back on.
- The display will show Aura’s splash screen and at the bottom it will says ‘Restoring Factory Settings”.
- Release the [Shift] and [Click] buttons.
Aura
Aura
Factory restore procedure for Pacer
- Set Pacer’s power switch to off.
- Turn the power switch to on, while holding the [Preset] stomp switch. The display should now say ‘G CFG’.
- Turn the data encoder to select ‘RESET’
- Press the encoder button
Latency/Delay issues
If there is an audible delay between pressing a key or moving a control and hearing sound in your music software, there are a few things to check.
First, take a look at the Audio settings in your DAW. You will find a buffer size or latency setting, either in milliseconds (ms) or samples. A buffer size less than 512 samples or ~20ms is needed to play sound without audible delay. If your computer can handle a lower buffer size than that, set it as low as possible.
In Windows, you should also make sure that you are using an ASIO or WASAPI driver for low latency operation. If you are using an external audio interface, you should have an ASIO driver installed already. If you are using the speakers/headphone jack built into your computer, you may need to use something like ASIO4ALL.
In MacOS, the built in CoreAudio driver provides low latency operation, no matter what type of audio interface you are using.
If you have a USB MIDI device connected to a passive hub or to a powered hub which also has an hard drive or an audio interface connected, that can also cause delays. Try connecting your MIDI controller directly to the computer or try disconnecting the other devices from your hub.
Bluetooth speakers will also cause latency. Try using the speakers/headphone jack built into your computer or an external audio interface.
If the problem only occurs in Logic, the problem could be related to Logic’s control surface settings. Please follow the instructions on this page: Logic Setup and Troubleshooting: Impact.
Troubleshooting computer/DAW related issues
If your Nektar controller stops communicating with your computer and music software during use, most likely it’s caused by a USB Power issue, as described on this page: USB Power and Impact
Here is a list of potential solutions:
- Connect the controller to a different USB port.
- Try a different USB cable (start with the included cable if you are not already using it)
- Connect the controller using a powered USB hub. Do not use a passive USB hub (a hub which does not have it’s own power supply) or a hub which is built into a display.
- If all else fails, check if the same issue occurs with another computer
If your Nektar controller’s MIDI ports do not appear in your DAW or music software, please check if the device is detected by the computer.
MacOS instructions:
- Open a Finder Window.
- Open the ‘Go’ menu at the top of your screen.
- Select ‘Utilities’.
- In Utilities, double-click on ‘System Information’.
- In System Information, select ‘USB’ from the list on the left.
- Does your Nektar controller appear by name in the USB Device Tree?
Windows instructions:
- Right-click on the Windows button in the lower-left corner of your screen.
- Select ‘Device manager’.
- In Device Manager, expand the ‘Sound, Video and Game controllers’ category.
- Do you see your Nektar controller listed by name, in this category?

MacOS USB Device Tree
MacOS USB Device Tree
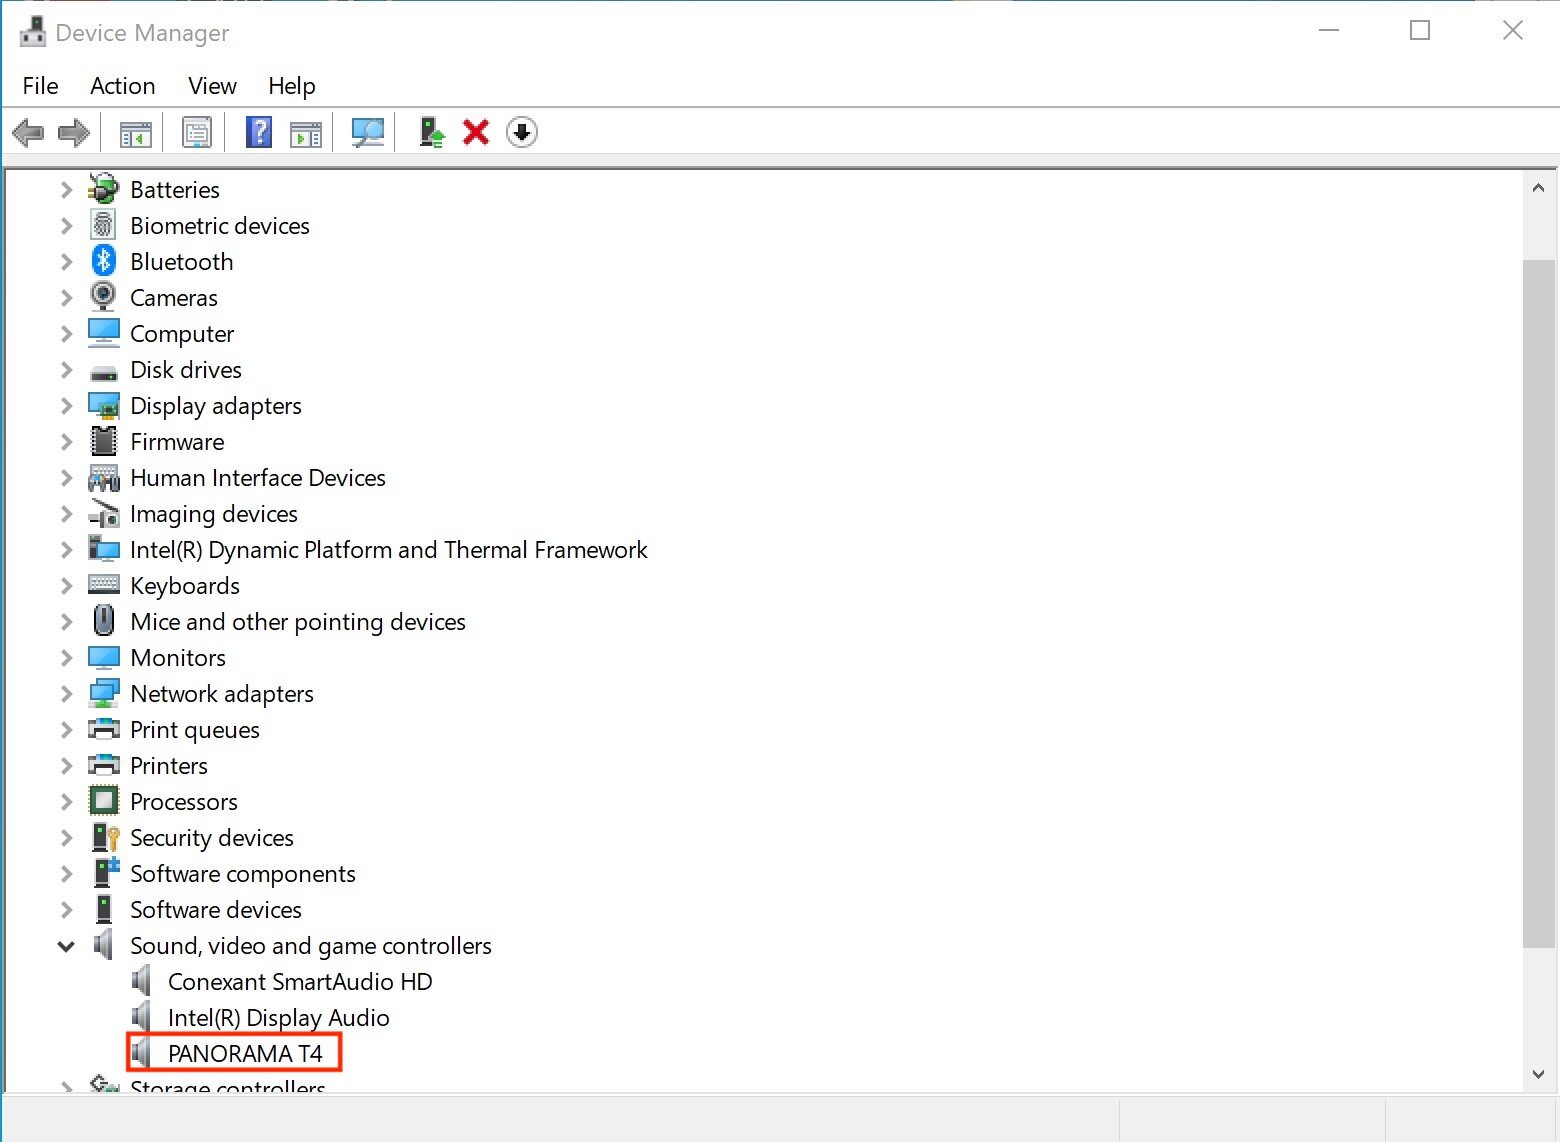
Windows Device Manager
Windows Device Manager
If some functions of your controller are working correctly but others are not, please refer to the DAW specific Setup and Troubleshooting guides:
- Impact Support
- Panorama Support
- Aura Support
- Pacer Support
If you find that the Nektar device has become unresponsive, check if the display will update when you move a control (knobs, faders, Pitch/Mod Wheel). Also try tapping a pad and check if the Pad LED changes color when pressed.If your controller doesn’t have a display, try pressing one of the Octave buttons. Do the LEDs for those buttons change state?
If the display doesn’t update to show the current value for the control you moved or if the button LEDs don’t change color as you press them, please contact our support staff.