H&K GrandMeister Tone Control Preset for Pacer
This Preset makes use of H&K GrandMeister’s ability to be completely MIDI-controlled, with a focus on Tone Controls.
The Factory Preset D1 for the GrandMeister gives you access to channel and FX-switching, with this optional preset you will be able to set all tone controls by foot. So you might want to use both in conjunction. Setup with the GrandMeister is easy: plug a MIDI cable in and you are good to go. You will need 2 expression pedals and 2 optional foot switches to make full use of this preset.
The Preset will give you access to GrandMeister channel switching as well as the gain, tone, presence and reverb on/off controls. With the stomps [1]-[5] you map the respective front panel knob to [Exp Pedal 2] for control. [Exp Pedal 1] is set up to control volume, and with [FS1] and [FS2] you can switch GrandMeister presets (limited to 0-9, but of course you can extend the range if you require more).
(In order to load the Preset into Pacer, you need to use a Sysex program such as Sysex Librarian from Snoize for Mac OS X or Bome’s SendSX for Windows.)
The sysex data will be loaded as the ‘Current’ preset. You can then save the settings to any of Pacer’s preset slots. If you don’t save the preset, the settings will be lost the next time you select a different user preset.
- With Pacer in Preset Mode, turn the Data Encoder to select ‘SAVE’, then press the Encoder Button.
- The 5-character display will say ‘STORE’, press the Encoder button.
- Turn the data encoder to select the Preset slot, to which you would like to save this additional preset for the GrandMeister, then press the Encoder button.
Now you have saved the H&K GrandMeister preset, so that it can be recalled for later use.
The Preset
GrandMeister – Tone Control Preset
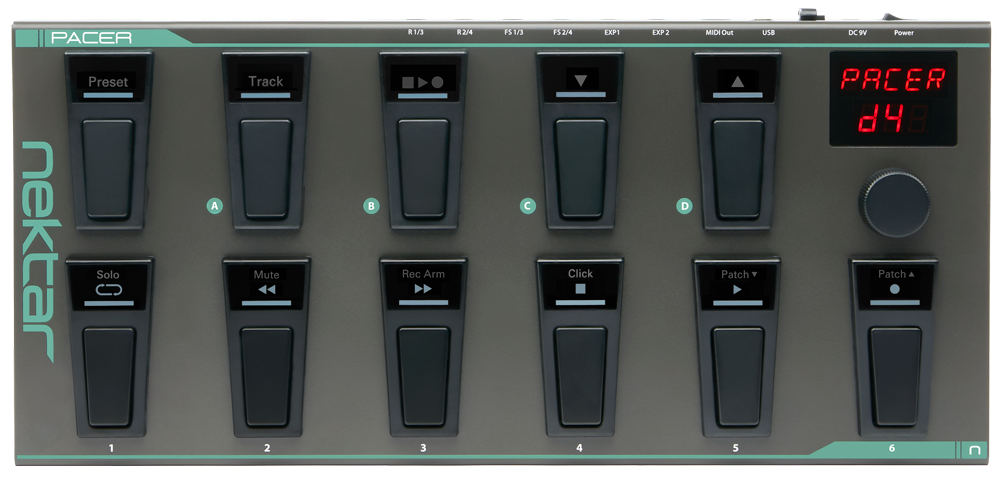
- Switch A: Track Preset
- Switch B: Transport Preset
- Switch C: Previous Preset
- Switch D: Next Preset
- Switch 1: Amp Channel 1-4
- Switch 2: Treble/Mid/Bass*
- Switch 3: Presence*
- Switch 4: Resonance*
- Switch 5: Gain*
- Switch 6: Reverb On/Off
- FS1: Increment Program 0-9
- FS2: Decrement Program 9-0
- FS3: OFF
- FS4: OFF
- EXP1: Volume
- EXP2: *Stomp Switches [2]-[5] select the following functions for EXP2:
- Treb/Mid/Bass (indicated by LED color)
- Presence
- Resonance
- Gain