MIDI Communication Issues
If you see the MIDI port names for your controller in the MIDI settings for your DAW or other music applications, it means that the controller is detected by your computer and it’s MIDI ports can transmit data to and from the controller.
If you find that the controller is listed in your DAW/music application but you cannot hear sound when you play the keys or you don’t see parameters move when you adjust the controls, there may be a communication issue.
If you find that is the case, there are tools available for OS X and Windows which can help you diagnose the problem.
Windows
MIDI Ox (download link)
- After completing the installation process, close any applications you have open and start MIDI Ox.
- Open the ‘Options’ menu.
- Select ‘MIDI Devices’.
- Activate each of the ports associated with your controller, under the ‘MIDI Inputs’ list.
- 5. Click ‘OK’.
* Note: If, at this point, you encounter a message which indicates that there is not enough memory for the task (see image 2 on the right), it actually means that another application is accessing one or more of the devices MIDI ports. In Windows only one application can access a devices MIDI ports at a time. See the troubleshooting section below for more details. - Press a key on the keyboard (if your controller has a keyboard). You should see Note On and Note Off data in the form of light green and dark green text, (as shown in image 3 on the right)
- Move a control. You should see a stream of controller data in the form of blue (MIDI CC), pink (Pitch Bend) or light green (Aftertouch) text.
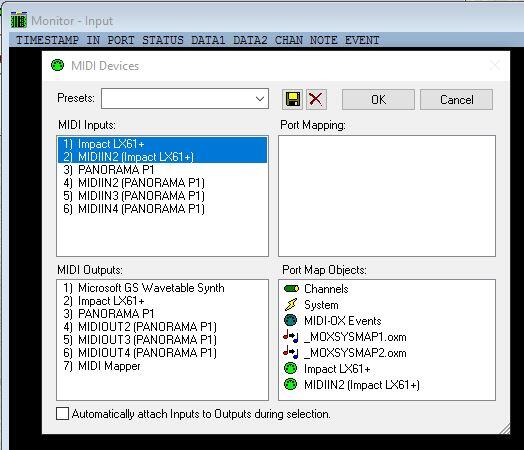
Image 1) MIDI Ox
Image 1) MIDI Ox
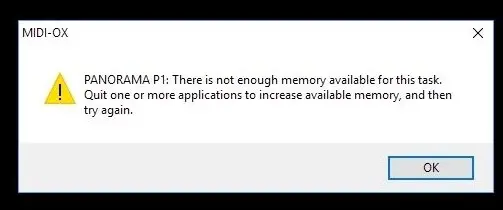
Image 2) MIDI Ox Error
Image 2) MIDI Ox Error
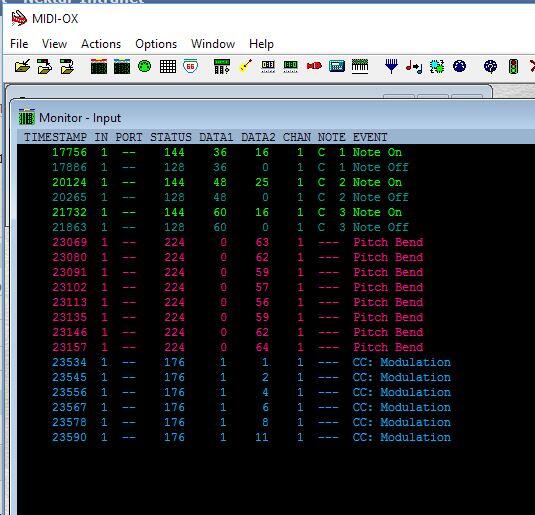
Image 3) MIDI Ox Data
Image 3) MIDI Ox Data
OS X
Audio MIDI Setup
There is a utility called Audio MIDI Setup (AMS) built into OS X. This utility has a basic test tool which can detect some types of incoming MIDI messages.
- Open a Finder window.
- Open your Applications directory or open the ‘Go’ menu at the top of your screen.
- Select ‘Utilities’.
- In Utilities, double-click on ‘Audio MIDI Setup’ (the icon looks like a controller keyboard).
- In Audio MIDI Setup, open the ‘Window’ menu.
- If you see the option to ‘Show MIDI Studio’, click on it. If you see an option to ‘Hide MIDI Studio’, the MIDI Studio window should already be visible.
- In the MIDI Studio window, check if you see an icon associated with your controller. If you have had a number of MIDI devices connected to your computer, you may need to expand the window to see all of the icons.
- If you see an icon for your controller, click the ‘Test Setup’ button (see Image 4)
- Press a key on your controller and then release it.
When you release the key, you will hear a small noise which indicates that a Note Off message has been received. You will also see an arrow flash blue, under the port which the Note Data was transmitted on. Note: If you are using a controller which doesn’t have keys, follow the instructions for using MIDI Monitor, below.
MIDI Monitor (download link)
MIDI Monitor is very useful if you need to test a controller without keys or if you need to see more information about the data which your controller is transmitting.
- Drag MIDI Monitor to your Applications folder (or some place you can find it).
- Start MIDI Monitor.
- Press a key on your controller and release it. You will see Note On and Note Off data appear in the monitor window.
- Move a control. You will see a stream of controller data appear in the controller window. (see image 5 for an example).
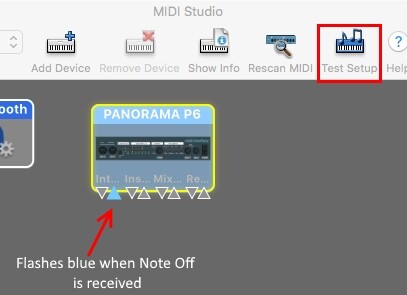
Image 4) AMS Test Setup
Image 4) AMS Test Setup
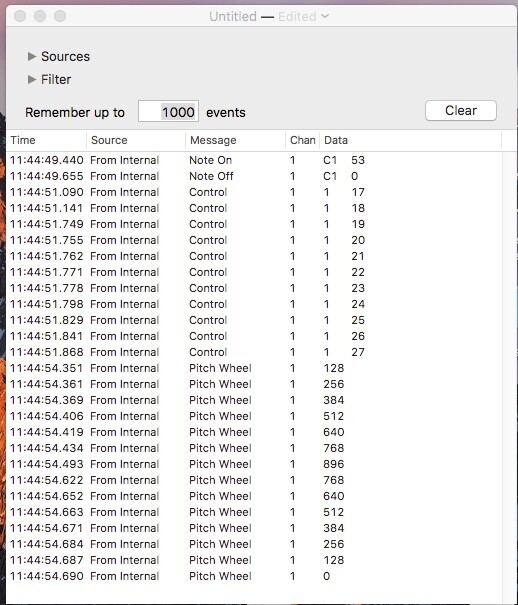
Image 5) MIDI Monitor
Image 5) MIDI Monitor
Troubleshooting
If you see messages appear in the monitor window in MIDI Ox or MIDI Monitor, as you press keys and move controls it means that data is being received. If that is the case, quit MIDI Ox or MIDI Monitor and open your DAW/music application, then check if it will respond when you press the keys or move controls.
Often music applications will have a MIDI activity indicator which will move or light up when incoming MIDI data is received. If you don’t see anything like that, check that the MIDI settings in the application are configured correctly. See the Setup and Troubleshooting pages for the DAW and controller series which you are using, for details about configuration.
In Windows only one application can access a devices MIDI ports at a time. This is the cause of most of the MIDI communications issues which we encounter in Windows. Most of the time, this kind of problem is caused by having two music applications open at the same time. In those cases, you can simply close your music applications, and open the one which you would like to use with your Nektar controller first.
However, there are some applications which run in the back ground or are not obviously compatible with MIDI devices, so it’s not as easy to tell that there is a problem. For example, the control panel software for some Audio interfaces can be controlled via MIDI, so they can grab MIDI ports as your computer begins to start up. Also, Google Chrome has MIDI extensions, so it is recommended to make sure that Chrome is not running when you try to start your music applications.